Custom Builder Guide to Zero Threshold Drainage Framing and Slab Specs for Flush Wet Rooms
Table of Contents
What Is a Zero Threshold Wet Room?
Why Framing Specs Matter More Than Most Builders Realize
Curbless Shower Concrete Slab Detail: Getting the Foundation Right
Zero Entry Shower Framing Guide: Step-by-Step Structural Prep
Flush Wet Room Drainage Installation: Linear Drain vs. Center Drain
Barrier Free Shower Subfloor Specifications
Wet Room Waterproofing Membrane Detail
Slope Per Foot for Curbless Showers
ADA Compliant Barrier Free Wet Room Standards
Common Mistakes That Cause Costly Failures
Why Triangle Area Builders Trust Plumb Smart Plumbing
Custom Builder Guide to Zero Threshold Drainage Framing and Slab Specs for Flush Wet Rooms
Building a zero threshold wet room is one of the most technically demanding tasks in residential construction. When it's done right, you get a beautiful, spa-worthy space that's fully accessible, water-tight, and built to last for decades. When it's done wrong. Even slightly, you end up with water migrating into wall cavities, failed membranes, cracked tile, and structural rot that costs far more to fix than it ever cost to prevent.
At Plumb Smart Plumbing, we work directly with custom home builders, remodel contractors, and homeowners throughout Youngsville, Raleigh, Wake Forest, and the entire Triangle Area of North Carolina to spec, frame, and install flush wet rooms the right way, the first time. This guide pulls together everything you need to know. From rough framing and slab depression depth to linear drain positioning and waterproofing layers. So your project goes in clean and stays that way.
Whether you're building a luxury custom home in North Raleigh, converting a master bath in Wake Forest, or roughing in a new build in Youngsville, this is the field-ready reference you've been looking for.
What Is a Zero Threshold Wet Room?
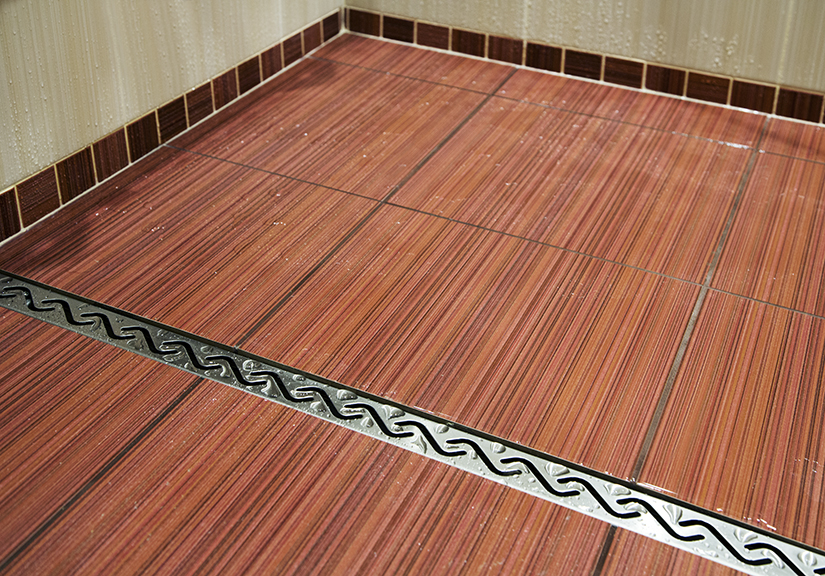
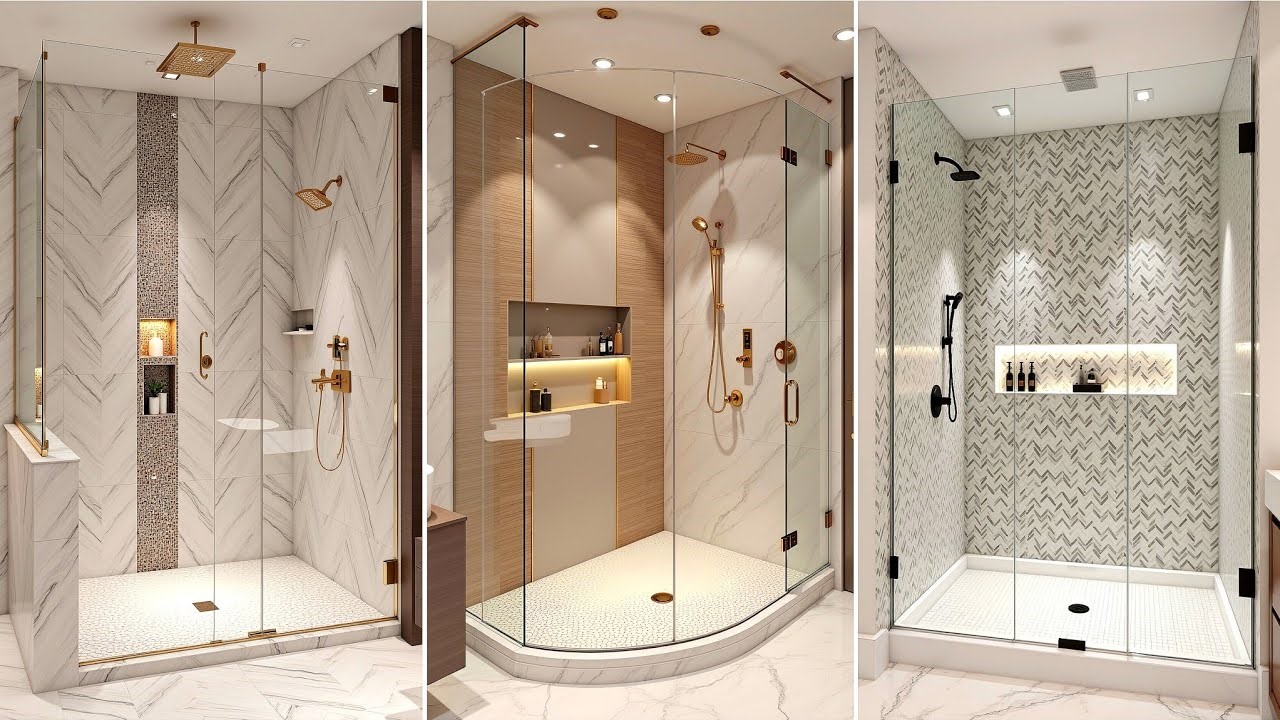
A zero threshold wet room, sometimes called a curbless shower, barrier-free shower, or flush wet room is a bathroom configuration where the shower floor is completely flush with the surrounding bathroom floor. There is no curb, no raised lip, no transition bump. Water is managed entirely by slope, drainage placement, and a continuous waterproofing system that treats the whole wet zone as a single sealed unit.
This design has become increasingly popular in luxury custom homes across the Triangle Area, and for good reason. It reads as clean, modern, and open. It accommodates aging-in-place requirements and ADA standards without looking clinical. And when built correctly, it performs just as well, often better than traditional curbed shower pans.
The challenge is that zero threshold construction requires significantly more planning at the rough framing and slab stage than a standard shower build. You can't easily correct a slab that wasn't recessed deeply enough, or a subfloor that wasn't framed to accommodate proper slope. The decisions made before the first tile goes down determine whether this wet room works beautifully for 30 years or causes problems inside of 5.
Why Framing Specs Matter More Than Most Builders Realize
Most shower waterproofing failures don't start at the membrane. They start at the framing stage, weeks earlier, when critical dimensional decisions were made without accounting for the full build-up of materials.
In a conventional curbed shower, you have some margin for error. The curb itself acts as a secondary water containment barrier. In a zero threshold wet room, there is no curb. The waterproofing membrane, the mortar bed, the tile, and the drainage system all have to work together perfectly and that means every layer has to be accounted for before a single board is cut or a yard of concrete is poured.
For new construction in Raleigh, Wake Forest, and Youngsville, builders working on slab-on-grade foundations need to factor this into the slab pour itself. For wood-framed floors common in two-story homes throughout the Triangle Area, the subfloor framing needs to be dropped or a recessed tray system installed, to bring the finished shower floor level with the surrounding bathroom floor while still maintaining the required drainage slope.
These aren't details you can work out later. They have to be solved at the design and rough-in phase.
Curbless Shower Concrete Slab Detail: Getting the Foundation Right
For slab-on-grade construction, a recessed concrete slab shower pan is the most reliable foundation for a flush wet room. The slab within the shower footprint is poured lower than the surrounding slab, typically 3.5 to 4 inches lower, to accommodate the mortar bed, the drain assembly, the waterproofing membrane, and the finished tile, while still landing at the same finished floor elevation as the bathroom outside the shower zone.
Here's the standard slab recess breakdown for a mud-set curbless shower:
Tile thickness: 3/8" to 1/2"
Thin-set / adhesive: 3/16" to 1/4"
Waterproofing membrane (sheet or liquid): 1/16" to 1/8"
Sloped mortar bed: 1.5" to 2" minimum at perimeter, sloping to drain
Pre-slope mortar layer (over liner systems): 3/4" to 1"
Drain flange height and clamping ring: varies by manufacturer
When combined, these layers require a minimum slab recess of 3.25 to 3.75 inches for most residential tile finishes. Builders should confirm exact depths with the drain manufacturer's specifications before the pour.
One critical detail: the slab recess should extend slightly beyond the planned shower footprint, ideally 3 to 4 inches past the finished wall framing, to ensure the waterproofing membrane can wrap fully up the wall without creating a high-point at the perimeter.
Zero Entry Shower Framing Guide: Step-by-Step Structural Prep
For wood-framed floor systems which are standard in most North Carolina residential construction above the first floor, the approach is different but equally detail-oriented.
Option 1: Dropped Header Framing
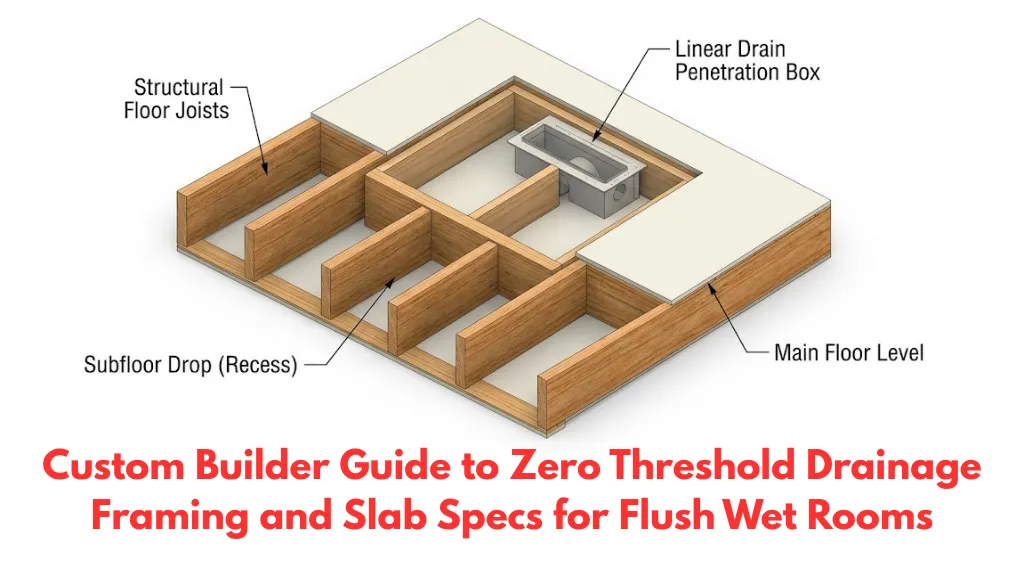
The most robust solution is to drop the floor framing within the wet room footprint by sistering additional framing members or using a purpose-built recessed tray. The structural floor sheathing within the shower area is set lower than the surrounding subfloor, creating the recess needed for the drain assembly and mortar bed without adding height above the structural floor.
Option 2: Recessed Tray System
Several manufacturers produce integrated sub-sill drainage channels and recessed subfloor trays specifically designed for zero threshold applications. These systems sit within a cutout in the existing subfloor and provide a waterproof, pre-sloped base that significantly simplifies installation. For remodel projects in existing homes across Raleigh and Wake Forest, this is often the most practical path when full structural reframing isn't feasible.
Regardless of method, these framing specs apply:
Framing members within the wet room zone should be treated lumber or PT lumber to resist moisture exposure
Joist spacing within the wet area should be 12" on center for maximum rigidity tile systems are unforgiving of deflection
The L/360 deflection standard (maximum deflection of span divided by 360 under load) is the minimum; many tile industry guidelines recommend L/720 for large-format stone or porcelain
All penetrations through the subfloor for drain rough-in should be cleanly cut, sealed around the drain body, and accounted for in the waterproofing plan
Flush Wet Room Drainage Installation: Linear Drain vs. Center Drain
Drain placement is one of the most visible design decisions in a zero threshold wet room and it has direct implications for framing, slope, and waterproofing.
Center Drain Configuration
A center-positioned drain is the traditional choice. It requires the floor to slope toward the center from all four sides, a four-way slope at the standard rate of 1/4 inch per foot. This works well for smaller shower footprints (under 48" x 48") and is more forgiving on complex tile layouts.
Linear Drain Configuration
A linear drain wet room construction approach uses a channel drain positioned along one wall or at the threshold. The floor slopes in a single plane toward that wall, a one-way slope which creates a cleaner look, simplifies large-format tile installation (no awkward cuts around a center drain), and works particularly well in wider, rectangular wet rooms.
For linear drain systems, the drain channel body typically sits along the far wall or at the entry, and the entire floor tilts toward it at 1/4" per foot. This also means the structural floor at the drain wall must be set lower than the entry side, which needs to be factored into framing or slab prep.
Important: For zero threshold designs where the shower entrance is flush with the bathroom floor, a linear drain at the threshold requires extremely precise execution, the drain must catch water before it migrates into the bathroom field tile. Some installations incorporate a narrow integrated channel just inside the threshold for this purpose.
Barrier Free Shower Subfloor Specifications
The barrier free shower subfloor specifications that govern most residential wet room construction in North Carolina align with both the Tile Council of North America (TCNA) guidelines and the IRC residential building code.
Here's what builders and contractors in the Triangle Area need to know:
Minimum subfloor thickness: 3/4" exterior-grade plywood (CDX or better), or equivalent OSB with exterior glue
Deflection standard: L/360 minimum; L/720 recommended for large-format tile over 15" on any side
Joist spacing: 12" OC preferred within the wet area
Moisture barrier: 15 lb. felt or equivalent between subfloor and mortar bed (where mortar bed method is used)
Cement board or comparable backer: Required for all walls within the wet zone, extending minimum 3 inches above the finished shower threshold
Isolation membrane: Strongly recommended between mortar bed and any crack-prone substrate
For ADA compliant barrier free wet room applications, the subfloor and drain system must also support the load ratings required for wheelchair use, and transitions at the shower threshold must meet the 1/2" maximum change in level requirement (beveled if between 1/4" and 1/2").
Wet Room Waterproofing Membrane Detail
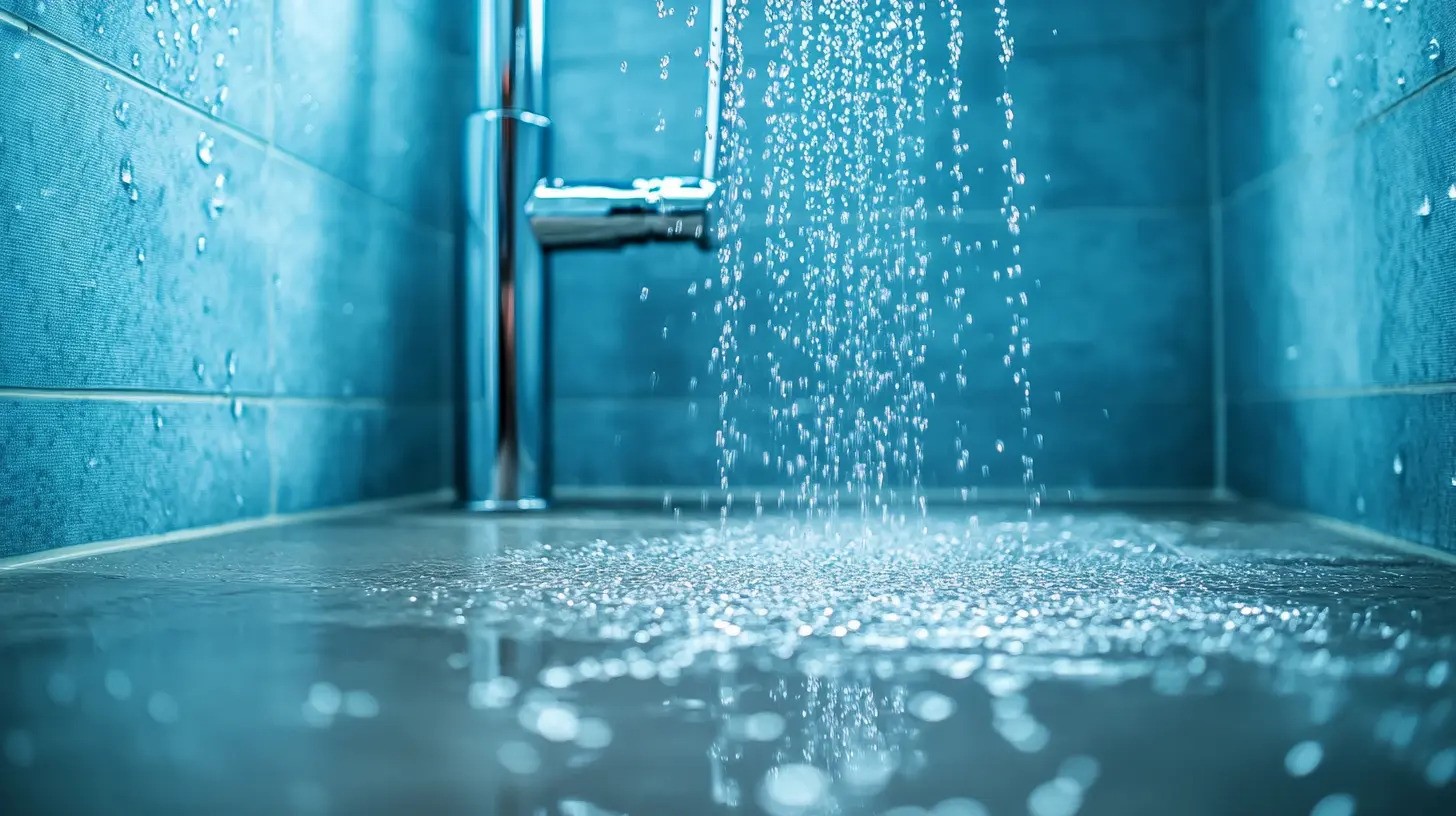
Waterproofing is where zero threshold wet rooms succeed or fail. Without a curb, the waterproofing membrane is the only thing standing between your shower floor and the structural assembly beneath it. There is no room for gaps, thin spots, or missed corners.
The two most common systems used in North Carolina residential construction are:
Liquid-Applied Membranes (e.g., RedGard, Laticrete Hydro Ban)
Applied by roller or brush directly to cement board or concrete surfaces, liquid membranes cure to form a continuous, seamless waterproofing layer. They're flexible, relatively fast to apply, and work well on complex geometries. Critical detail: two coats minimum, applied perpendicular to each other, with corners and seams reinforced with fabric mesh tape embedded in the first coat.
Sheet Membranes (e.g., Schluter Kerdi, Wedi)
Sheet membranes bond directly to the substrate with unmodified thin-set. They provide highly consistent thickness and excellent performance at seams and corners when properly overlapped. For curbless shower installations, sheet membranes require careful attention at the drain-to-membrane connection, most manufacturers offer matching drain flanges designed to bond directly to their membrane system.
In either case:
The membrane must extend up all walls a minimum of 6 inches above the finished floor, 12 inches is better practice in a fully open wet room
All corners (floor-to-wall and wall-to-wall) require pre-formed corner pieces or reinforced fabric tape embedded in the membrane
The drain flange must integrate with the membrane, not sit on top of it
Membrane must be flood-tested (filled to threshold height for 24 hours) before tile installation begins
Slope Per Foot for Curbless Showers
The standard slope for curbless showers is 1/4 inch per foot, the same as a conventional curbed shower. For a 60" wide wet room with a center drain, that means the perimeter of the floor sits 5/8" higher than the drain. For a linear drain configuration with a 48" run, the high side sits 1" above the drain channel.
That said, zero threshold construction sometimes requires a modified approach at the entry. Because there's no curb to act as a visual or physical stop, the slope near the threshold needs to be managed carefully:
Some designers tighten the slope near the entry to 3/16" per foot to reduce any visible pitch at the transition
Others use a very slight reverse slope (away from the bathroom) for the first 6 inches inside the entry to direct splash water back toward the drain
Linear drain at threshold designs use the drain itself as the transition, eliminating the problem entirely
Whatever approach is used, the slope must be consistent and smooth, no flat spots, no dips, no high points away from the drain. Mortar beds should be screeded carefully, and checked with a level before the membrane goes down.
ADA Compliant Barrier Free Wet Room Standards
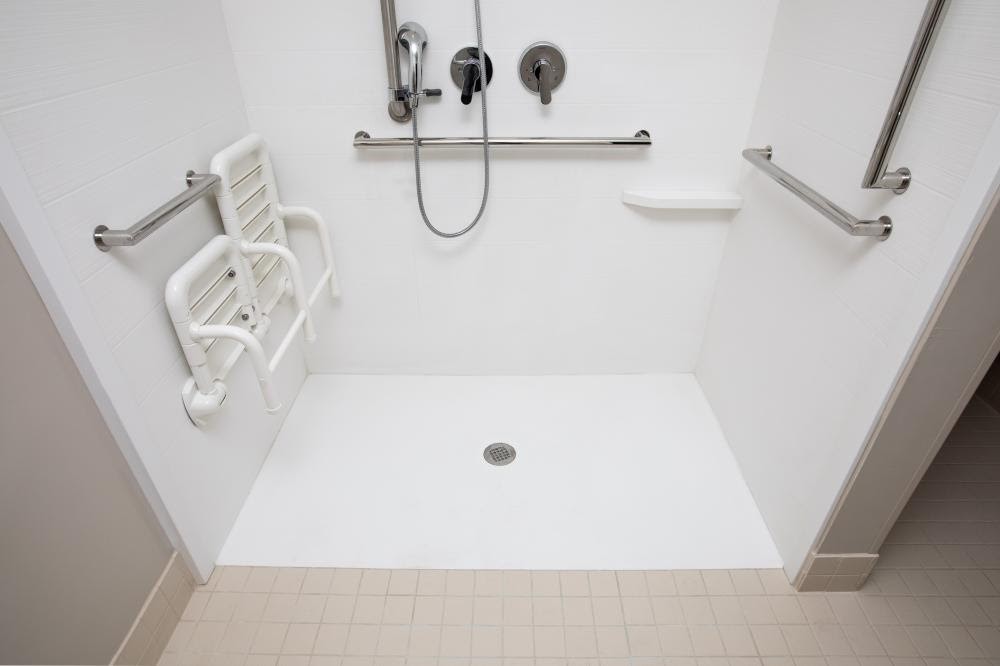
For builders working on accessible design projects in Raleigh, Wake Forest, and Youngsville, ADA compliance in wet rooms involves several specific requirements beyond just the threshold height:
Minimum interior shower clear floor space: 36" x 36" (transfer shower) or 60" wide x 30" deep (roll-in shower)
Threshold height: Maximum 1/2" change in level; must be beveled at 1:2 slope if between 1/4" and 1/2"
Floor surface: Must be slip-resistant, a coefficient of friction (COF) of 0.60 or higher wet is standard for residential accessible design
Drain placement: Should not obstruct wheelchair transfer or rolling access
Grab bar blocking: 2x blocking should be installed in all walls at 33"–36" height during framing even if grab bars aren't part of the current scope, retrofitting later without blocking is a major expense
Builders working on luxury custom homes throughout the Triangle Area increasingly incorporate these standards proactively, even in homes where accessibility isn't the primary brief. The demographics of aging-in-place design are hard to ignore, and a well-executed ADA-ready wet room doesn't sacrifice aesthetics to achieve compliance.
Common Mistakes That Cause Costly Failures
After working on wet room projects across Raleigh, Wake Forest, Youngsville, and the broader Triangle Area, here are the mistakes we see most often and the ones that are most expensive to fix after the fact:
1. Insufficient slab recess depth. The most common issue on new construction. Builders pour the slab before confirming the full material build-up, and the finished floor ends up 1/2" to 1" above the bathroom field tile. The fix requires either a full tile removal and mortar bed rebuild, or an elevated transition threshold which defeats the purpose of the curbless design.
2. Inadequate subfloor deflection resistance. Large-format porcelain tile is unforgiving. If the subfloor flexes even slightly under foot traffic load, grout joints crack, and eventually tile de-bonds. Reinforcing joist spacing before installation is a fraction of the cost of replacing tile after failure.
3. Skipping the flood test. Waterproofing membranes should always be flood-tested before tile goes down. Without this step, pinhole failures in the membrane go undetected until water infiltration causes visible damage often months or years later.
4. Incorrect drain-to-membrane integration. The drain flange must bond to the membrane system, not sit above it. A drain body that's installed without proper membrane integration creates a direct path for water to bypass the waterproofing layer.
5. Inadequate slope consistency. Flat spots in the mortar bed and even small ones, allow water to pool rather than drain. Standing water accelerates grout deterioration and puts constant pressure on the membrane below.
Why Triangle Area Builders Trust Plumb Smart Plumbing
Zero threshold wet rooms are a specialty, and the details outlined in this guide represent the kind of precision that separates a successful installation from an expensive problem. At Plumb Smart Plumbing, we bring deep experience in flush wet room drainage installation, rough-in plumbing coordination, and new construction plumbing across Youngsville, Raleigh, Wake Forest, and the entire Triangle Area.
We work directly with custom builders, remodel contractors, and homeowners from the earliest planning stages reviewing slab specs, confirming drain rough-in dimensions, and coordinating with tile setters and waterproofing crews to make sure every layer of the system works together. Our new construction services are specifically built around the kind of precision planning these projects demand.
For luxury custom homes and high-end remodels throughout North Carolina, the investment in getting the rough-in right pays dividends for the life of the project. There are no shortcuts worth taking in a zero threshold wet room and with the right plumbing partner on your team from day one, you won't need any.
Ready to Build Your Zero Threshold Wet Room the Right Way?
Whether you're a custom builder in Youngsville, a homeowner planning a master bath remodel in Raleigh or Wake Forest, or a contractor working anywhere in the Triangle Area, Plumb Smart Plumbing is ready to help you get this right from the ground up.
Contact our team today to:
Request a project estimate
Review your slab or framing specs with our crew
Schedule a rough-in consultation for your new build or remodel
Ask any questions about zero threshold drainage, linear drains, or wet room waterproofing
We're here to make sure your project goes right and stays that way for years to come. Reach out through our website at plumbsmartplumbing.com or call us directly to get started.