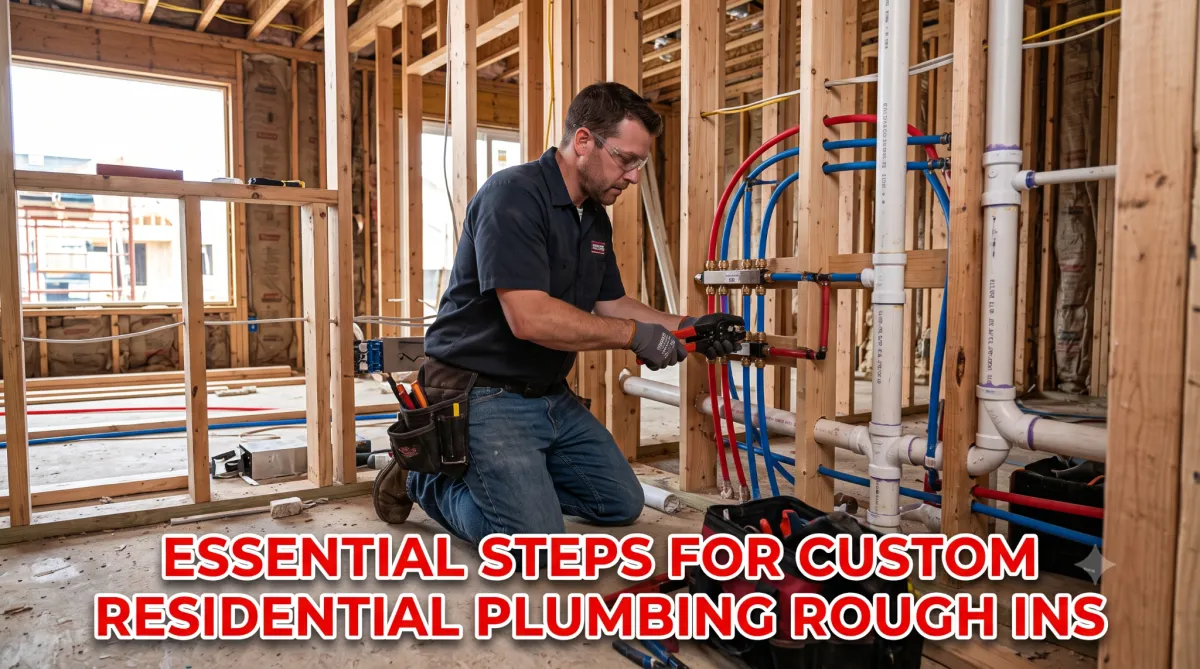
Essential Steps for Custom Residential Plumbing Rough Ins
Table of Contents
What Is a Plumbing Rough In?
Why the Rough In Stage Sets the Tone for Everything
Step 1: Reading the Blueprint and Planning the Layout
Step 2: Underground Rough In and Slab Work
Step 3: DWV Pipe Installation (Drain, Waste, and Vent)
Step 4: Stack and Vent Placement
Step 5: Water Supply Line Layout
Step 6: Framing and Pipe Penetration
Step 7: Plumbing Inspection Process
Common Mistakes That Derail a Rough In
Why Professional Expertise Matters in Custom Homes
Conclusion
Essential Steps for Custom Residential Plumbing Rough Ins
Building a custom home from the ground up is one of the most significant investments a homeowner or builder will ever make. The decisions made early in the construction process carry weight for decades and few decisions carry more weight than how the plumbing is planned and installed. Custom residential plumbing rough ins represent the foundational layer of an entire home's water, waste, and ventilation systems, and getting them right from the start is not optional.
When plumbing is treated as an afterthought or rushed through to meet an aggressive timeline, the consequences show up in the worst possible ways: leaking pipes buried in concrete, venting systems that don't pass inspection, or drain lines that run at the wrong pitch. These are not small problems. They are expensive, time-consuming, and in many cases, they require tearing into finished walls to fix. That is exactly why residential plumbing installation done with care and precision during the rough-in phase protects everything that comes after it.
At Plumb Smart Plumbing, we have spent more than 25 years working on custom residential new construction across Youngsville, Raleigh, Wake Forest, and the greater Triangle Area of North Carolina. We understand the unique demands of luxury custom homes. The non-standard floor plans, the high-end fixtures, and the complicated layouts and we bring the same level of craftsmanship and attention to detail to the rough-in phase as we do to every stage of a build. This guide walks you through what a proper rough-in actually involves, step by step.
What Is a Plumbing Rough In?
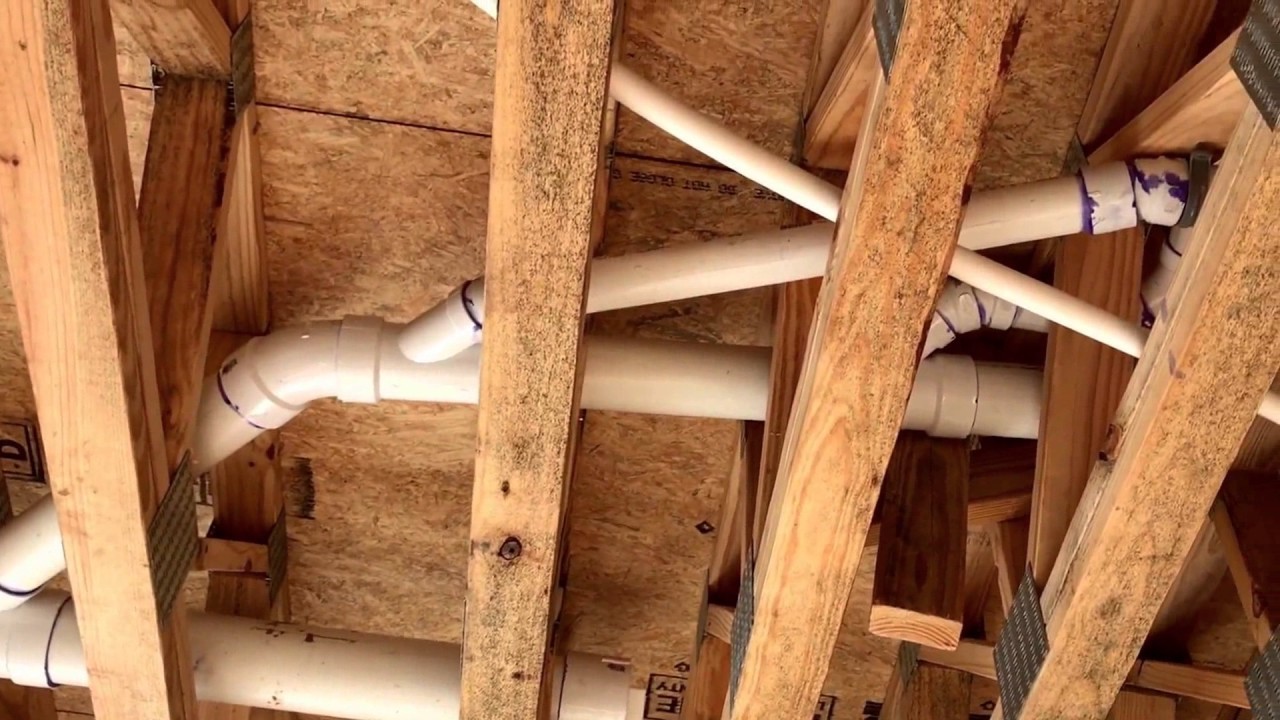
A plumbing rough in is the phase of new construction during which all the pipes, drains, vents, and supply lines are installed inside the walls, floors, and ceilings of a home. Before drywall or any finished surfaces go up. Think of it as building the skeleton of the plumbing system. No fixtures are connected yet. No faucets are installed. What you are doing at this stage is running every line to exactly the right location, at the correct angle, with the proper connections, so that the finish plumbing phase can proceed without issue.
For new construction plumbing rough ins, especially on custom builds, this phase is significantly more complex than in production or tract housing. Custom homes often include multiple wet walls, dedicated laundry rooms, outdoor kitchens, in-law suites, spa-style bathrooms, and other features that require careful planning well before the first pipe is ever cut.
Why the Rough In Stage Sets the Tone for Everything
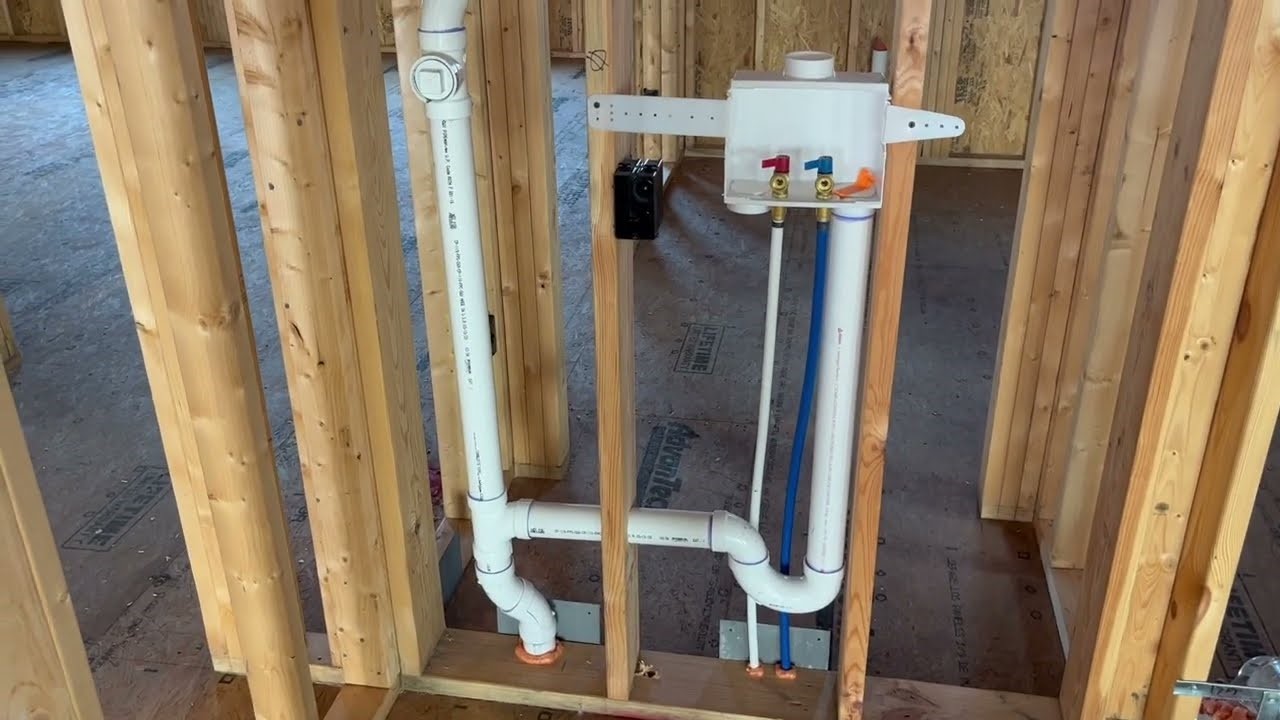
No other phase of the construction process impacts long-term plumbing performance more than the rough in. A supply line installed at the wrong height forces a fixture to be repositioned at the trim-out stage. A drain installed with an incorrect slope creates a future clog. A missing cleanout access point turns a routine maintenance task into a full repair job.
Getting the new home plumbing rough in guide right means accounting for every future fixture, every valve, and every connection point, weeks before any of them are physically installed. The best plumbing teams plan from the finish backwards. They know where the toilet flange will sit before they ever install the drain. They know the exact height of the shower valve body before they cut into the framing.
Step 1: Reading the Blueprint and Planning the Layout
Everything begins with the plans. Before a single pipe is touched, our team reviews the architectural and structural drawings in full detail. We identify every wet wall, every bathroom location, the kitchen, utility areas, and any specialty spaces like wine rooms or outdoor kitchens with plumbing needs.
We coordinate with the general contractor and superintendent to understand the construction sequence because the plumbing rough in steps must align with when slabs are poured, when framing is complete, and when inspections are scheduled. On luxury custom homes in the Triangle Area, this coordination is especially critical. These are not cookie-cutter builds. Every floor plan is different, and our layout planning reflects that.
Step 2: Underground Rough In and Slab Work
For slab-on-grade construction, the underground rough in happens before the concrete is poured. This involves trenching and installing the below-grade drain and waste lines that will serve every ground-floor bathroom, kitchen, and utility area in the home.
This is arguably the most unforgiving stage of the entire rough in. Once concrete is poured over these lines, they are locked in place. If a drain is off-location or installed without the correct slope typically 1/4 inch of drop per foot of horizontal run for standard drain lines, it will not flow properly, and correcting it means breaking concrete.
Our crews use precise measurements, laser levels, and thorough plan reviews to place every underground line correctly the first time. We verify pipe depth, confirm the outlet elevation, and check for conflicts with other underground utilities before we ever call for the concrete pour.
Step 3: DWV Pipe Installation (Drain, Waste, and Vent)
DWV pipe installation, drain, waste, and vents form the backbone of any residential plumbing system. Every sink, toilet, tub, shower, and appliance in the home connects to this network. During the rough in phase, all of these lines are run through the framing, hung from joists, and supported with appropriate hangers at the required intervals.
For custom residential plumbing rough ins, the DWV system often includes more branch lines, longer runs, and more elevation changes than a standard production home. Our team uses Schedule 40 PVC or ABS pipe depending on the application and local code requirements, and every connection is glued, tested, and inspected before walls close.
Proper pipe sizing at this stage matters enormously. Running a drain line that's undersized for the fixture load it will carry is a common error in lower-quality installations. We size every line according to fixture unit calculations, ensuring the system handles peak demand without restriction or backflow risk.
Step 4: Stack and Vent Placement
A plumbing system cannot drain properly without adequate venting, and stack and vent placement is one of the most technically involved parts of the rough in. Every drain in the home must be vented to the exterior to prevent siphoning, eliminate sewer gas, and maintain proper atmospheric pressure within the drain lines.
The main soil stack typically a 3- or 4-inch vertical pipe, runs through the interior of the home from the lower drains all the way through the roof. Individual fixtures connect to this stack via branch vents or wet vents depending on their location and distance from the stack.
On custom homes with multiple bathrooms on upper floors, complex island sinks, or wet bars on opposite ends of the floor plan, the venting strategy requires careful design. Air admittance valves are sometimes used in specific situations, but they must be placed and code-approved correctly. We plan every vent route to minimize penetrations, preserve ceiling height, and pass inspection on the first visit.
Step 5: Water Supply Line Layout
The water supply line layout covers all the hot and cold lines that run from the main water entry point to every fixture location in the home. During the rough in, these lines are run through studs and joists, with stub-outs positioned at the exact height and horizontal location required for each fixture.
For custom homes, this often includes dedicated lines for steam showers, pot fillers above ranges, refrigerator ice makers, whole-home filtration systems, and tankless water heater loops. We run PEX-A tubing on most residential supply work, it is flexible, freeze-resistant, and has excellent long-term durability for North Carolina's climate conditions.
Every stub-out is capped and pressure-tested before inspection. If the rough in fails a pressure test, we locate and repair the issue before the inspection call is ever made.
Step 6: Framing and Pipe Penetration
Working through framing requires coordination and care. Every hole cut through a stud or joist weakens that structural member to some degree, and building codes are very specific about where penetrations are allowed and how they must be protected.
Framing and pipe penetration standards require nail plates wherever a pipe passes within a set distance of the edge of a stud or joist, typically within 1.5 inches. These steel plates protect the pipe from being accidentally nailed or screwed through during the drywall phase.
Our team follows these requirements closely on every custom build. We also route pipes to avoid unnecessary penetrations wherever possible, which not only meets code but also reduces air infiltration and helps with the home's overall thermal and acoustic performance.
Step 7: Plumbing Inspection Process
Once rough in work is complete, the plumbing inspection process begins. A licensed inspector from the local authority, whether that is Wake County, Franklin County, or the Town of Wake Forest, will review all exposed pipework before walls are closed.
Inspectors verify correct pipe sizing, slope on drain lines, venting compliance, support intervals, and nail plate protection. They may also require a pressure test on the supply lines and a water or air test on the DWV system to confirm there are no leaks.
Plumb Smart Plumbing has built strong, professional relationships with local inspectors across the Triangle Area through years of consistent, code-compliant work. Clean inspections are not an accident and they are the result of doing the rough in correctly from day one.
Common Mistakes That Derail a Rough In
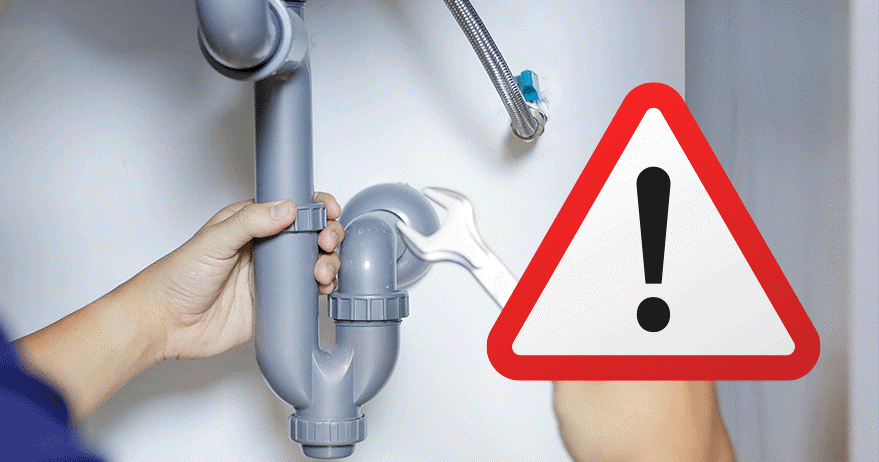
Even experienced crews can run into trouble on complex custom homes. Some of the most common rough in mistakes we see when builders bring us in to assess prior work include:
Incorrect drain slope: too flat or pitched too steeply, both of which cause drainage problems
Missing cleanout access: required by code at certain intervals and direction changes
Undersized vent pipes: causing slow drains or gurgling after fixtures are installed
Supply lines too close to exterior walls: creating freeze risk in NC winter conditions
Toilet flange set at wrong height: leading to rocking toilets or improper wax ring seals
Tub and shower drains not aligned with framed openings: causing finish work delays
Each of these issues is entirely preventable with proper planning, experienced crews, and a team that knows how to read a set of architectural plans and think ahead.
Why Professional Expertise Matters in Custom Homes
A production home builder can sometimes afford to use a standardized rough in process because the floor plans repeat. A custom home offers no such luxury. Each build is unique. Each layout demands fresh thinking, accurate measuring, and the kind of hands-on experience that only comes from years of working on high-end residential construction.
At Plumb Smart Plumbing, we work exclusively on residential construction and remodeling. We do not split our focus between commercial work and residential work. Our team is built around the specific demands of custom homebuilding and precision scheduling, proactive communication with general contractors and superintendents, clean job sites, and work that passes inspection on the first call.
Homeowners and builders in Youngsville, NC, Raleigh, NC, and Wake Forest, NC trust us because we show up prepared, we coordinate well, and we hold ourselves to the same standard of craftsmanship that a luxury home demands. When you are building a home valued at $500K to $3M or more, the quality of every trade partner matters.
Conclusion
The rough in phase is where a home's plumbing system is either built right or built with problems waiting to surface. Every pipe, every drain, every vent, and every supply line installed at this stage either adds to the long-term performance of the home or subtracts from it. There is very little middle ground when it comes to custom residential plumbing rough ins and that is exactly why choosing the right plumbing partner is so important before the first shovel hits the dirt.
For homeowners investing in a dream home, the rough in may not be visible once the walls close but it is felt every single day in water pressure, drain performance, code compliance, and the peace of mind that comes from knowing the work was done correctly. For builders and contractors, a dependable plumbing partner means cleaner timelines, fewer call-backs, and inspections that clear without delays.
Whether you are early in the planning stage or your build is already underway, Plumb Smart Plumbing is ready to bring precision, professionalism, and 25-plus years of residential plumbing experience to your project. We serve Youngsville, Raleigh, Wake Forest, and the entire Triangle Area of North Carolina and we are proud of the work that goes into every home we touch.
Ready to Talk About Your Build?
If you are planning a new construction plumbing rough in for a custom home in the Triangle Area, we would love to hear about your project. Our team works directly with custom home builders, general contractors, and homeowners to deliver plumbing systems designed for performance and built to last.
Give us a call at (919) 899-4707 to speak with our team, or visit our new construction services page to learn more about how we partner with builders from the ground up. You can also request an estimate online, we will get back to you quickly and make sure the conversation starts on the right foot.
The plumbing behind a great home deserves a great team. Let's build something smart.